

Holiday Wreath Tutorial

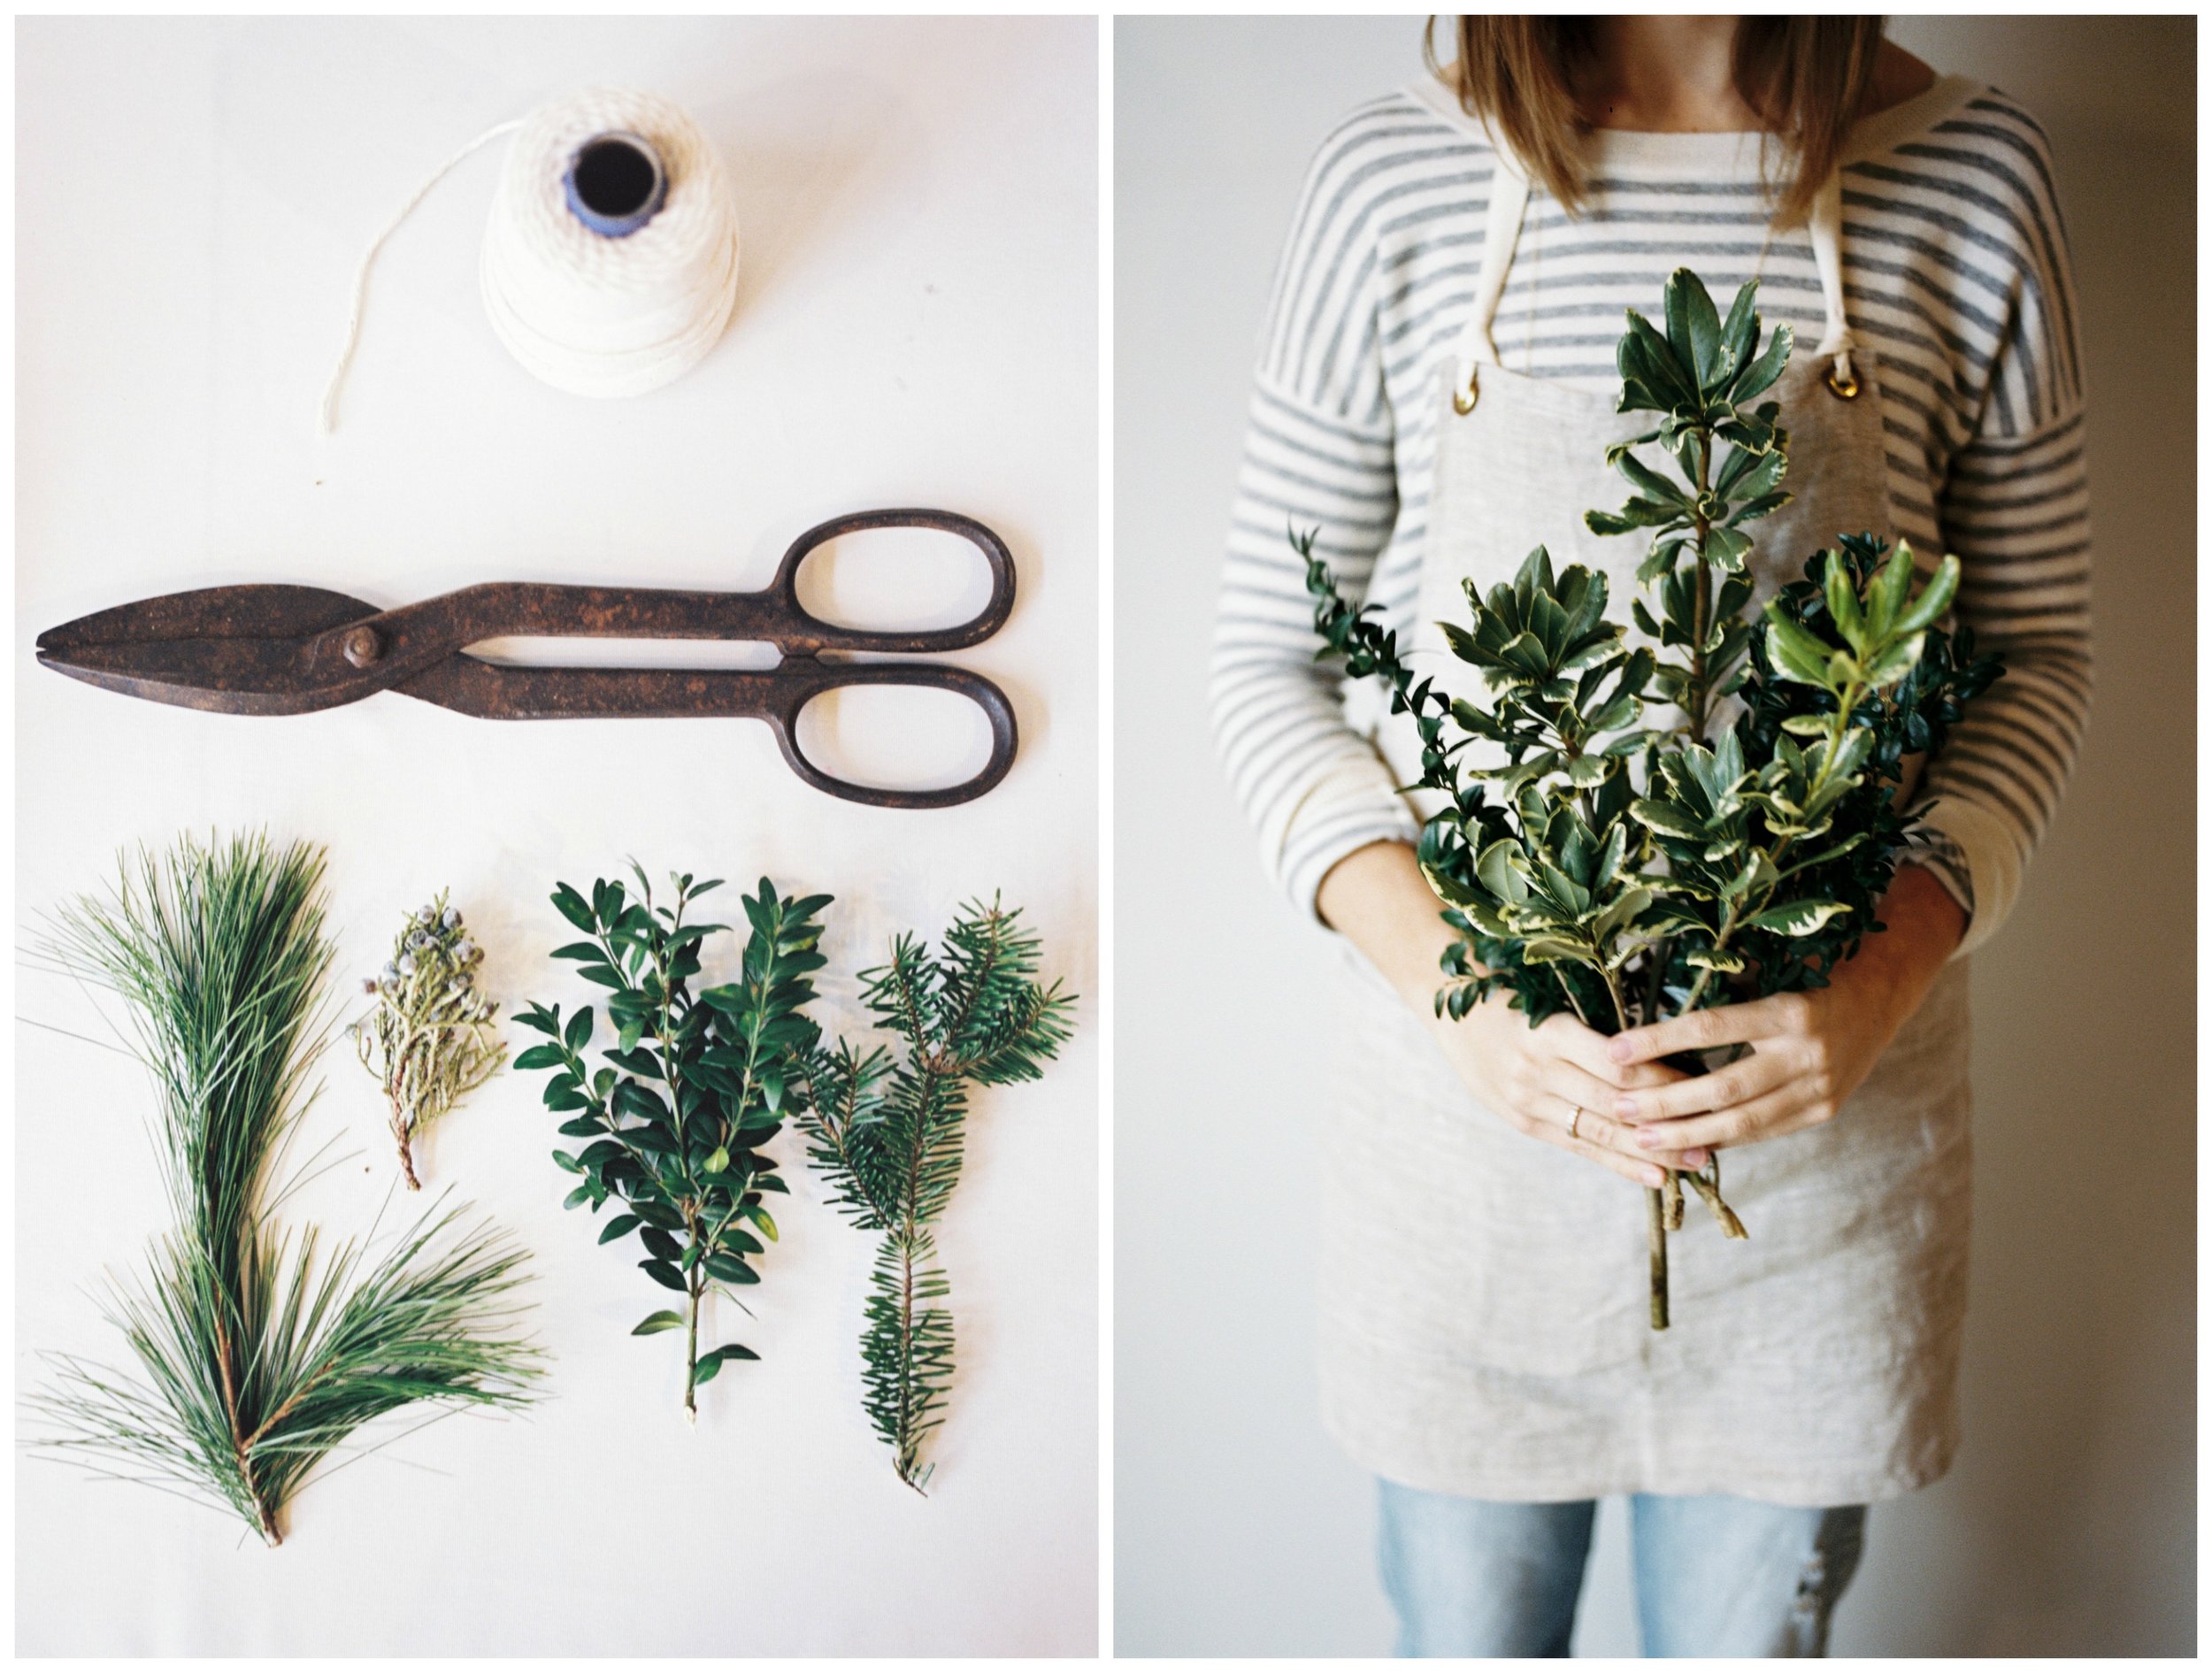
A few weeks ago I met up with my newest photographer friend Laurelyn to put together this incredibly simple DIY. In about 20 minutes, we crafted a unique and festive holiday wreath using various greens. Real greens I might add, which is my favorite part. These aren't just some craft store fakies which makes the wreath not only look beautiful, but it smells lovely and wintery too! Keep reading for the simple tutorial...


You will need:
- 2-3 varieties of cut pine or other greens (cedar, fir, balsam, spruce, juniper) - A grapevine wreath for the base (available at most craft stores) - Garden or kitchen shears/scissors - An apron is optional, but recommended (pictured apron is from Small Batch Production) - Also optional: string or floral tape (if you want added stability)

Step one: You will start by trimming the first few branches (of any green) that you decide to use (we used branches ranging from 7"- 10"). The rest of the branches you'll want to trim as you go for desired length. Don't be afraid to experiment a little by switching up the greens and using different branch lengths throughout.
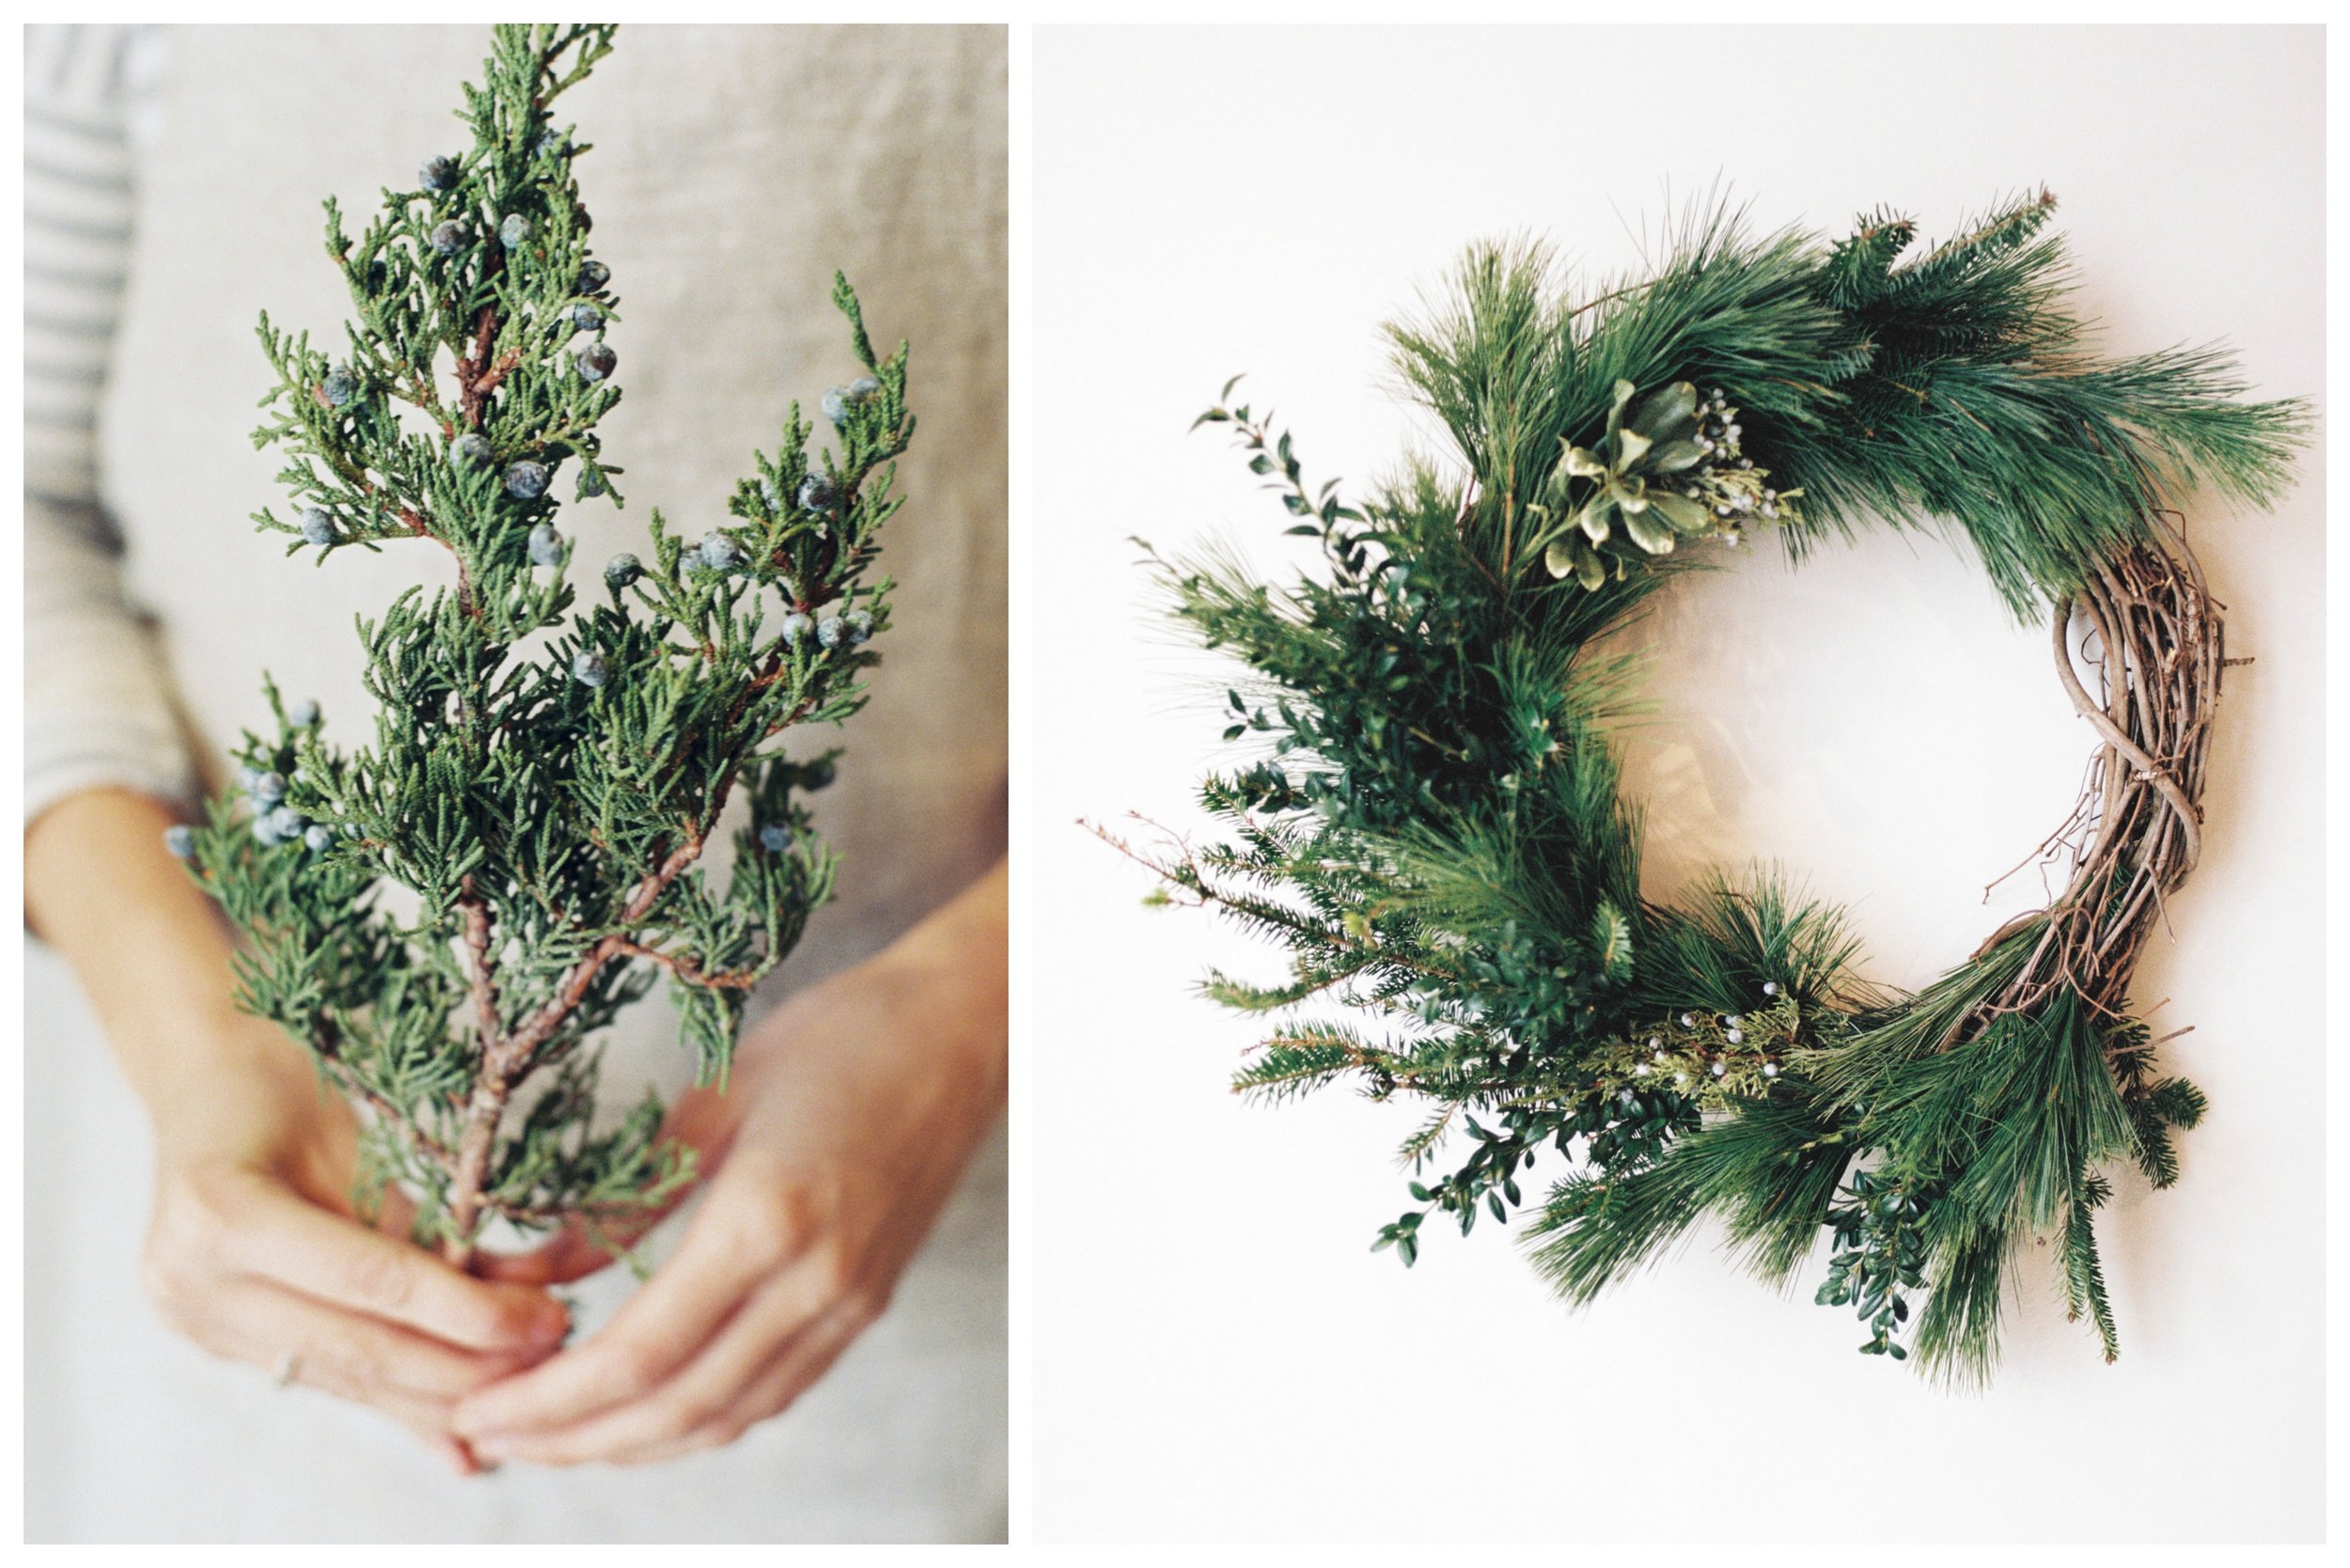
Step two: Begin by taking the first branch segments that you already have trimmed and insert the cut ends into the grapevine wreath. You'll want to leave the greenery ends hanging off the edge of the wreath a bit and have them curve with the direction of the wreath. We chose to work counter-clockwise. Be sure to weave the branches far enough into the "body" of the wreath so that they don't come loose.
Step three: Continue to add the branches in the direction you decided to flow with your wreath. You can easily rearrange the branches to your liking. We also made sure the branches were close enough that the greenery would fully cover the cut ends of any branches. (This is where you can use the string or tape to secure the branches if you'd like).

Step four: We chose to only cover ¾ of our wreath with branches for an organic and rustic look. It is entirely up to you to decide how many branches you want on your wreath, you can certainly cover the whole grapevine wreath if you choose! When you think you've finished, take a step back and make sure there are no bare spots. You might find a few that you'll want to go ahead and fill in with smaller branches.
Congrats! You've finished your natural holiday wreath. Time to cozy up with some hot cocoa and enjoy your new creation :)
Photos by Laurelyn Savannah Photography

